
 |
| วิธีการ เพิ่มบัญชีอีเมล์ในโปรแกรม Outlook Type IMAP ด้วย Port SSL |
 |
| 1.เมื่อเข้ามาที่ Program Outlook แล้ว ให้เข้าไปที่ File > Info > Add Account ตามภาพ |
 |
| 2. คลิกไปที่ Manually Configure Server Setting or Additional Server Types > Next |
 |
| 3.คลิกไปที่ Internet Email > Next |
 |
| 4.เมื่อเข้ามาในหน้า Setting ให้ใส่รายละเอียด ดังนี้
User information
You Name : ชื่อผู้ใช้
Email address : ชื่อบัญชีอีเมล
Server information
Account type : ใส่ IMAP
Incoming mail server : mail.technologyland.co.th
Outgoing mail server : mail.technologyland.co.th
Login information
User name : ชื่อบัญชีอีเมล
Password : รหัสผ่านของบัญชีอีเมล
เมื่อใส่รายละเอียดทั้งหมดเรียบร้อยแล้วให้กดไปที่ More Setting...
|
 | ||||
|

6. Incoming server (IMAP) port: 993 (SSL)
Outgoing server (SMTP) port: 465 (SSL)
กด OK
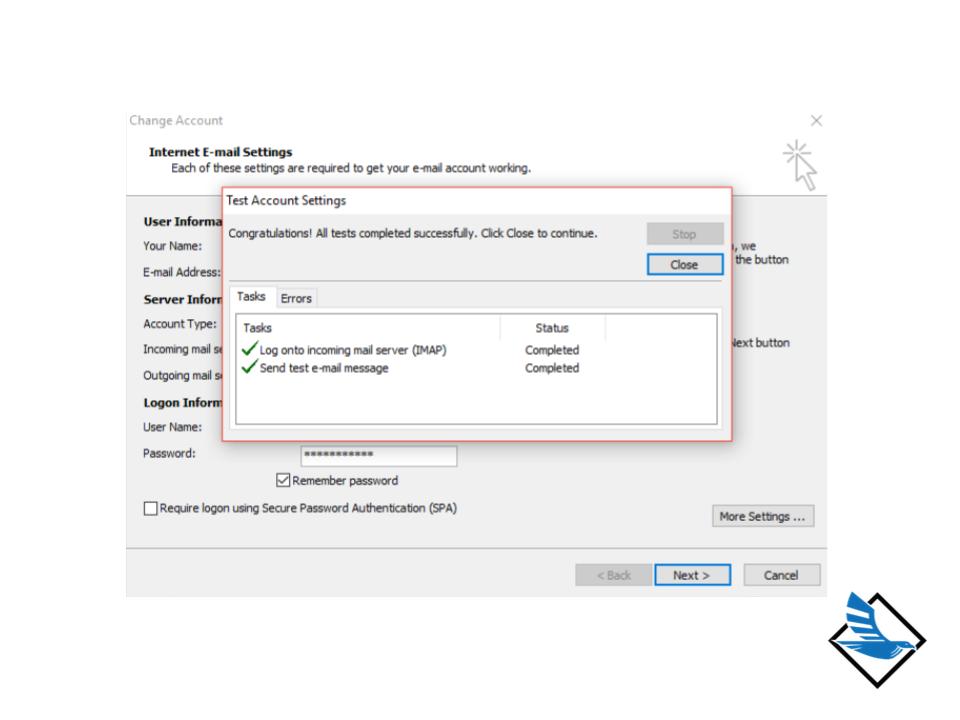 |
| 7.เมื่อกด OK จะทำให้กลับมาหน้า Setting ให้กด Next เพื่อ Test Account Setting แล้วกด Close |
 |
| 8.การตั้งค่าเสร็จสิ้น คลิก Finish |
บริษัท เทคโนโลยีแลนด์ จำกัด
Email Hosting/Server Service Provider
Email Hosting/Server Service Provider